I have a lot to share about what the Bowers have been up to, but I have been wanting to share this gift idea...
...forever and decided today is the day. The best thing about this gift is it is simple, inexpensive, but oh so special.
During my pregnancy my mom and dad were so good in getting us a cleaning lady to come while I was on bed rest. Best gift ever!! Joyce was her name, and she so sweetly gave the kids gifts after Teagan was born. One of the gifts was a hankie bonnet.
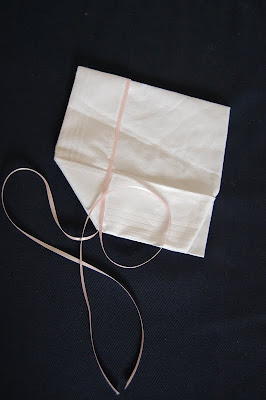
I thought it was the sweetest thing! A bonnet for the baby to wear now, and then a hankie to use on their wedding day. You include this poem with the gift.
If I were to give this gift I would probably print the poem on a nice piece of paper and tuck it and the bonnet inside an envelope for keeping.
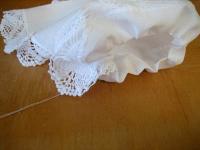
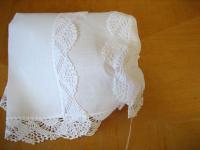
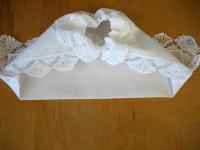
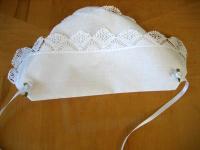
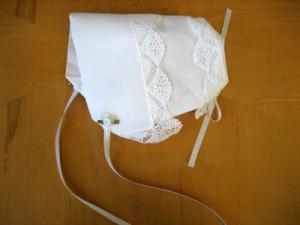
It looks pretty simple to make, just a little folding and handstiching in the front and back.
Hopefully you can see the simple hand-stitches in this photo.
Here are complete directions from this website on how to make one. You can even buy a hankie on their site!
I have cut and pasted the directions here for your use too:
| Materials Needed | 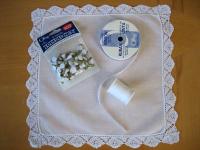 | ||||
Directions How To Make A Hankie Bonnet
I am just a little hankie, as square as can be; But with a stitch or two, they've made a bonnet out of me. I'll be worn home from the hospital, and on special days, And then I'll be carefully pressed and neatly packed away. Then on the wedding, I have been told, Every well dressed Bride must have something old. So what would be more fitting than to find Little Old Me, A few stitches snipped and a wedding handkerchief I will be! And if per chance, it is a boy, someday he still will wed. So to his Bride he can present the handkerchief once worn upon his head. | |||||
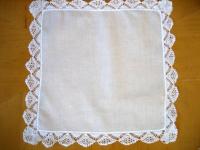 | 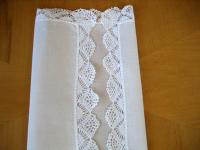 |  |  |  |
 | ||||
 | ||||



No comments:
Post a Comment